How do I install CAM-POST?
CAM-POST installation Set-Up
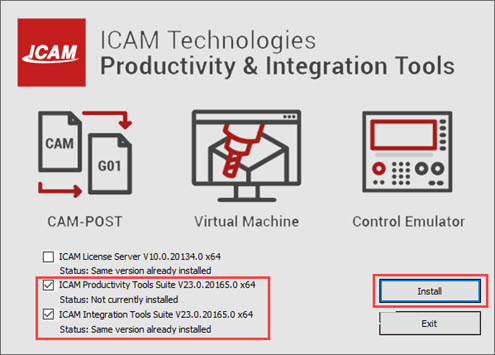
This section shows a typical first-time installation of CAM-POST on a client computer. Your installation should be similar. If you encounter any difficulties, refer to the ICAM Installation Guide PDF document provided with your dedicated solution. ICAM software includes two parts of installation: ICAM Productivity Tools and Integration Tools.
1. Select both options and click Install
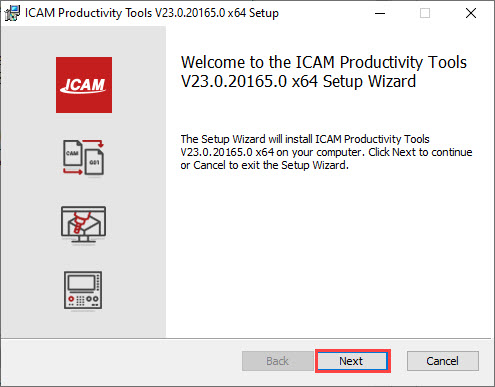
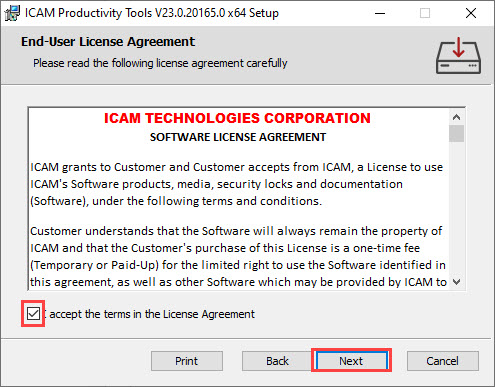
2. Select Next and accept the End-User License Agreement to continue
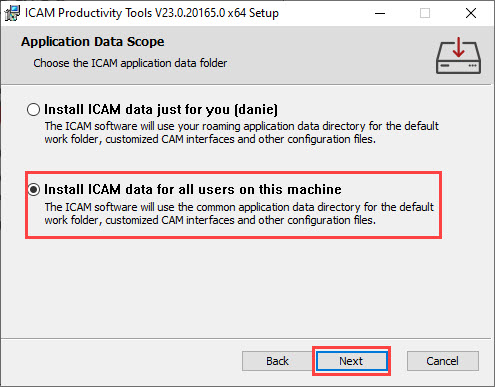
3. Select “Install ICAM data for all users on this machine” and click Next
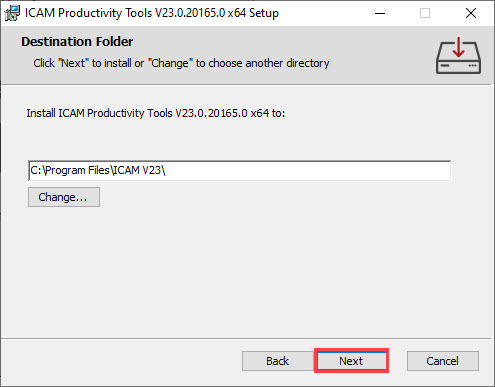
4. Specify installation path, by default CAM-POST is installed on your local drive and click Next.
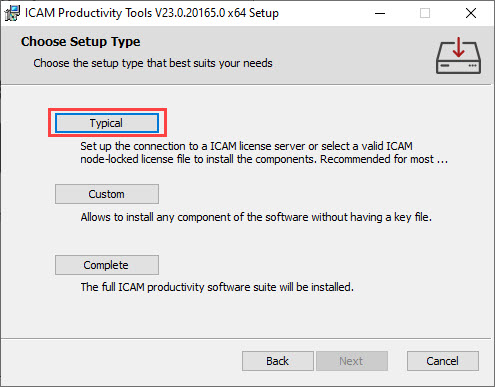
5. Select Typical setup
6. Select the appropriate installation type (NODELOCK or FLOATING) depending on your license option and click Next.
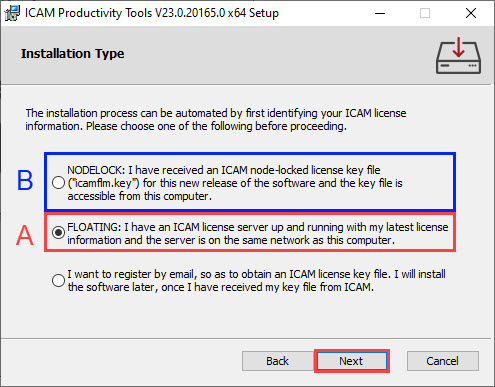
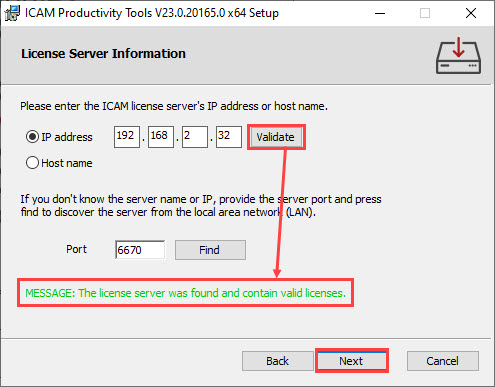
A. FLOATING option
Specify the IP address of the server computer in the box below. The Host name of the server can also be used.
To check if the license key is found on the server, select Validate and a message should appear at the bottom detailing the results.
If the client computer is connected to the server through local area network (LAN), specify the port number and select Find to locate the floating license.
Click Next.
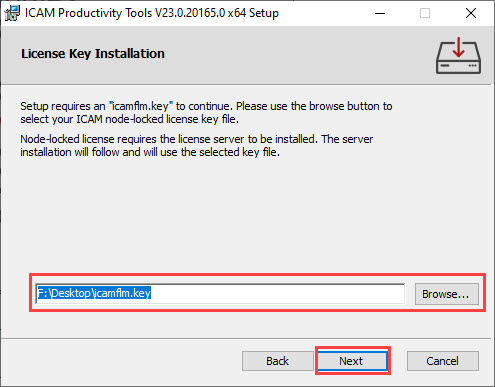
B. NODELOCK option
Locate the “icamflm.key” file on your client computer and select Next.
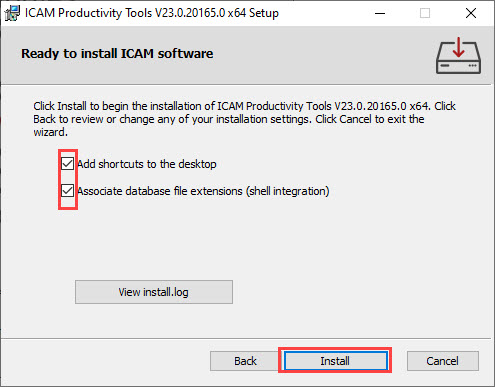
7. Check all options and select Install
Note: If you have earlier versions of ICAM installed, a third option is available to migrate your data and settings.
8. Select Finish to complete the installation of the Productivity Tool Suite.
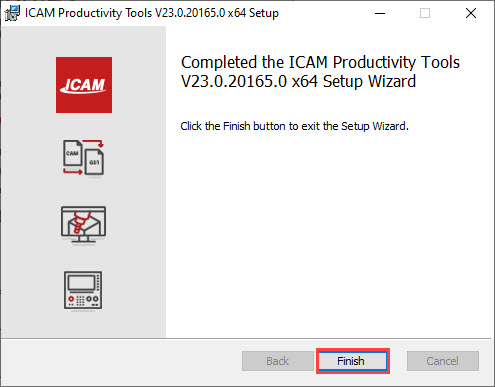
Note: If using the Nodelock installation, the license server installation will be prompted before the Integration Tool installation.
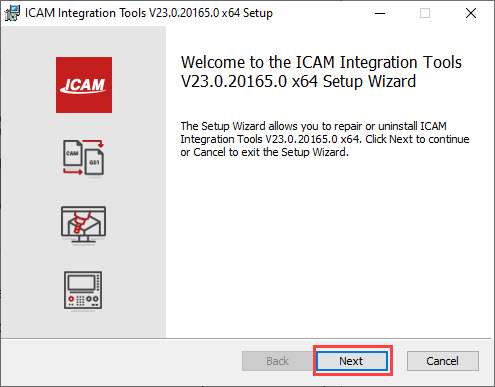
ICAM Integration Tool Installation
9. Select Next to start installing the ICAM Integration Tool Suite
10. Accept End User License Agreement to continue and click Next.

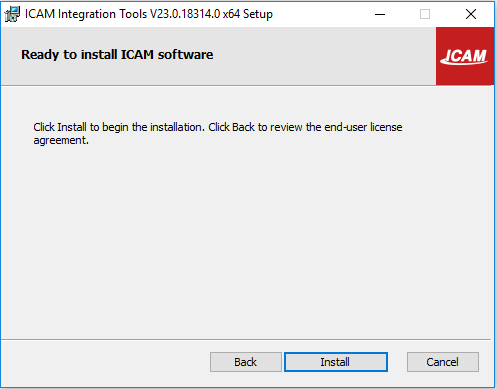
11. Select Install to start the installation process
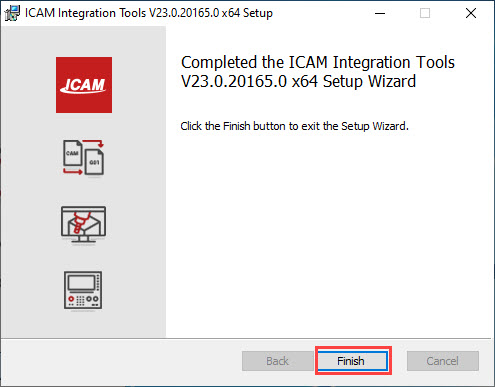
12. Select Finish to exit the setup wizard and complete the installation process